January 26, 2023
Making a Single-Window Mac App using SwiftUI
Traditionally, it was more work to write a Mac app with multiple windows. But with SwiftUI, it's the default. This is ideal for document-based apps, like Keynote for instance. It's not that great for an app that doesn't need multiple windows though.
While it's not immediately obvious, SwiftUI gives you a very simple way to set up a single-window mac app.
This tutorial is current as of XCode 14.2 and macOS Ventura (13.1).
example project on github : TLDR at the end of the post
The default with SwiftUI
When you create a new SwiftUI Mac App Project in XCode, the App module looks like this:
import SwiftUI

@main
struct MyGreatNewAppApp: App {
    var body: some Scene {
        WindowGroup {
            ContentView()
        }
    }
}
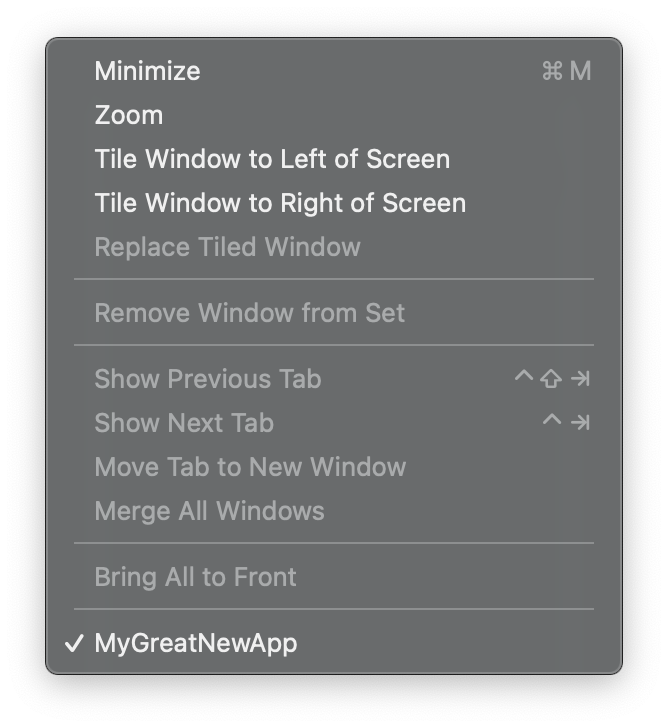
The Window Menu looks like this:
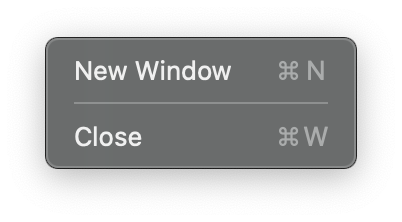
The File Menu in your app looks like this:
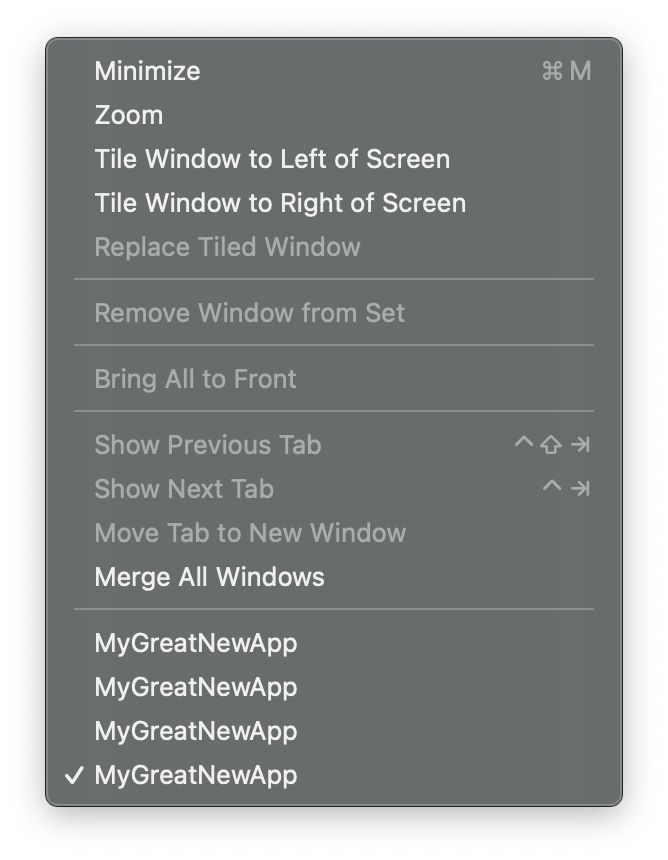
If you choose New Window from the File Menu a few times, then the Window Menu looks like this:
The View Menu looks like this:

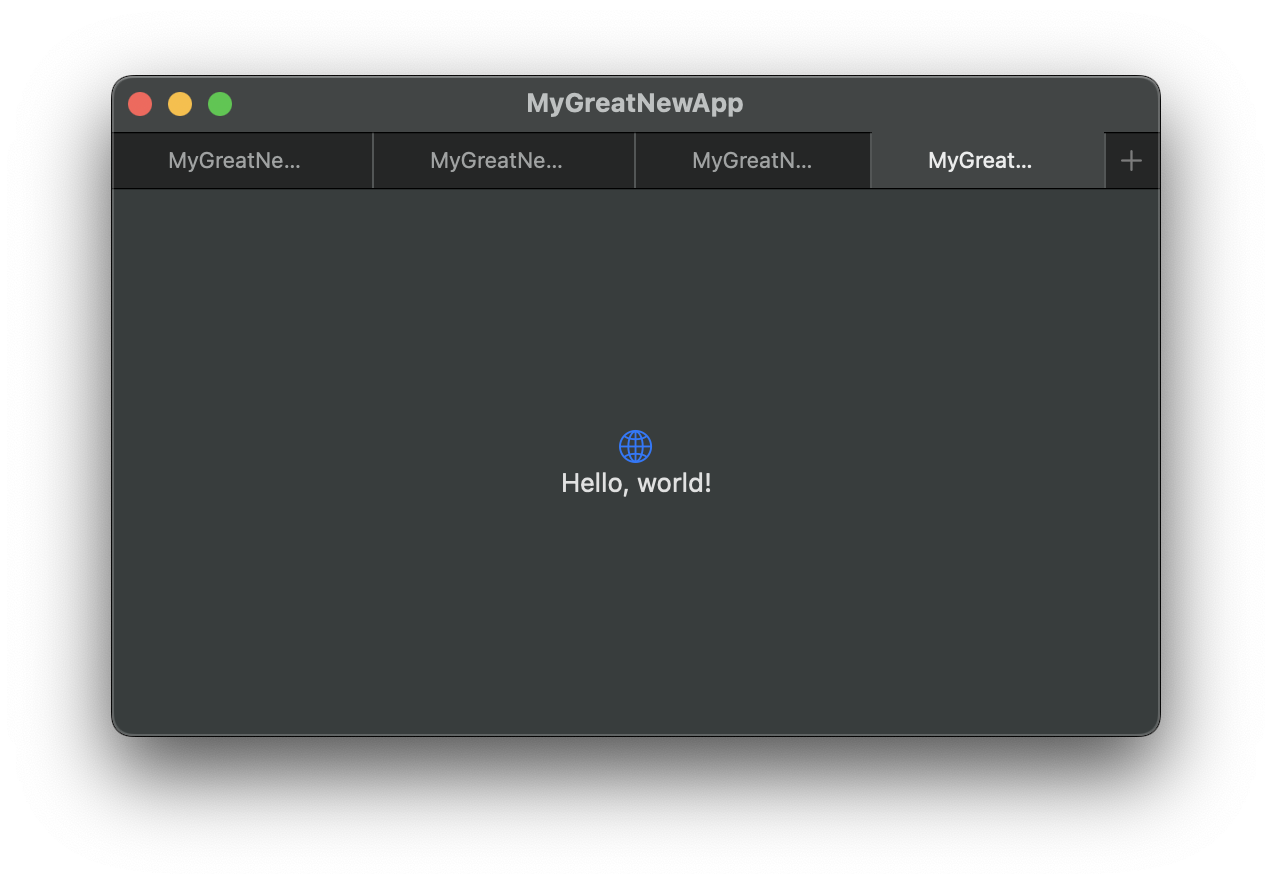
and if you choose to show tabs, you can have multiple tabs within a single window:
If you close all those windows, your app doesn't quit. Instead, it stays running with no windows just in case you want to choose New Window again

This behavior is completely appropriate if you want to write a document-based app, or a browser, or any kind of app that would need to provide multiple views of different kinds of data at the same time. Examples are Pages, Chrome and Terminal.
But a lot of apps don't need this kind of complexity. They only need to offer a single window, not all this multi-window behavior. Yet it might not be obvious how to go about removing it. Examples are System Settings, Messages and Twitter.
What we want
A well-designed single window app in macOS behaves slightly differently.
Its File Menu has no New Window menu item:

Its Window Menu doesn't need to list windows because there's only ever one:
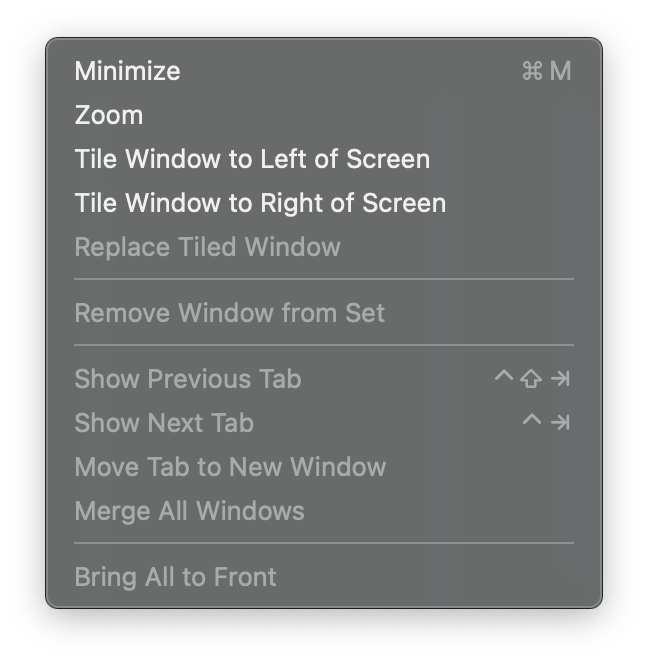
It has no option for multiple tabs in the View Menu.

and if you close its window, it doesn't stay open. It automatically quits as you would expect.
This is a much simpler user experience for an app that doesn't need to confuse the user with multiple windows.
The wrong way to do it
Okay, so we know what we want. But what's the best way to get it?
At first, you may want to modify the File Menu yourself, and force quit the app if the window closes, and then see what the next interaction is you want to modify, and so on. But you will continue to find small edge cases that don't work as you would expect, and your app may even be rejected from the app store for not following Apple's Human Interface Guidelines Luckily, there's a better way.
About Scene
Let's look back at that App module that you created with your new project.
WindowGroup {
    ContentView()
}
What's that WindowGroup thing? If you hold down the control and command keys while clicking on it in XCode, you'll be taken to its definition. Its interface is:
@available(iOS 14.0, macOS 11.0, tvOS 14.0, watchOS 7.0, *)
public struct WindowGroup<Content> : Scene where Content : View {
But what's that Scene type it's referring to?
A Scene's job is to manage the lifecycle of the app and present user interface elements that you provide in your Views. SwiftUI offers different kinds of Scene for different purposes. By default, your app uses a WindowGroup scene, which handles multiple windows and provides all the nice behaviors that a multi-window app needs.
But we don't need multiple windows. So let's do a search and see if there's a different kind of Scene that may work better for our needs.
Window to the Rescue
Wait, what's this?
@available(macOS 13.0, *)
@available(iOS, unavailable)
@available(tvOS, unavailable)
@available(watchOS, unavailable)
public struct Window<Content> : Scene where Content : View {
It's a Scene that's designed to work only on macOS, and here's its documentation:
/// A scene that presents its content in a single, unique window.
and reading a little further down:
/// A window can also be used as the main scene of your app, for when
/// the multi-window functionality isn't appropriate.
So if we use a Window instead of WindowGroup for our main scene, we'll get the single-window behavior for free.
@main
struct MyGreatNewAppApp: App {
var body: some Scene {
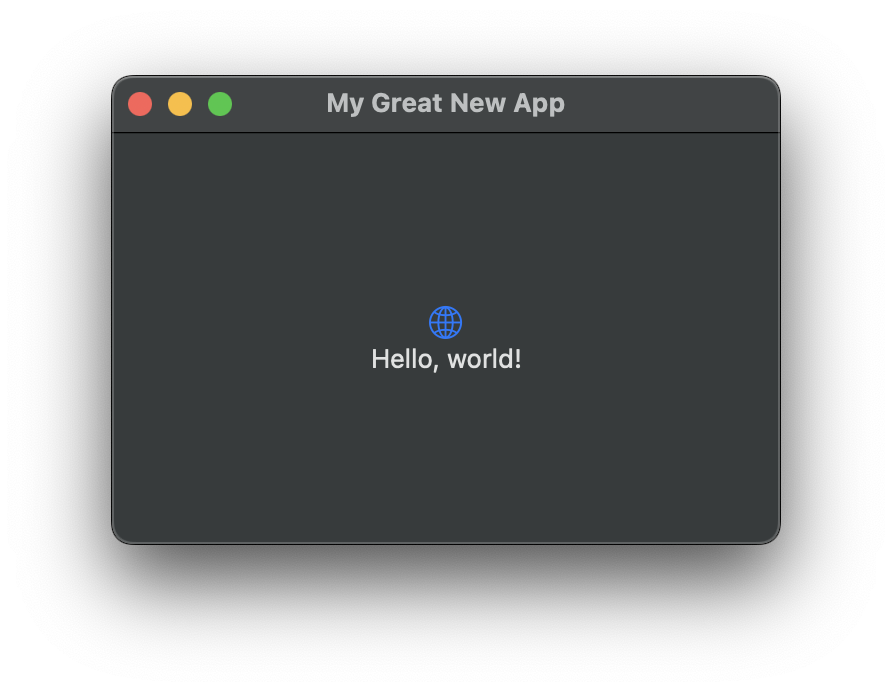
Window("My Great New App", id: "main") {
ContentView()
}
}
}
The first parameter you pass in will appear as the title of your window.
The second parameter, id, is used by SwiftUI to identify your window. It's required even though your app only has one window. I wouldn't recommend an empty string, but anything else should work for our purposes.
So how does it work
Running your app now, you can see that:
- There's no window list in the
Window Menu - There's no
New Windowmenu item in theFile Menu - Closing the window automatically quits the app.
But...
- There's still a
Show Tabsmenu item in theView Menu
Getting Rid of the Tabs
Sadly, as of macOS Ventura (13.1), SwiftUI doesn't seem to handle removing the Show Tabs menu item from the View menu automatically. Luckily, SwiftUI is still running on top of AppKit, and it's a simple enough fix to handle this using AppKit. On the Mac, SwiftUI implements each window in its interface with a NSWindow instance. Each NSWindow has a property called tabbingMode which determines whether it allows tabs or not. By default, AppKit assumes that a window will allow tabs, but our Single-Window app doesn't want tabs. So we have to set the tabbingMode of our window to disallowed.
There are probably several ways to do this, but the simplest is probably to write our own Application Delegate. AppKit uses one class as the delegate for its app. The delegate is expected to handle app lifecycle events. SwiftUI doesn't require that you have an Application Delegate, but it can come in handy for cases like this.
All we need to do is tell the Application Delegate what to do when the application finishes launching with this method:
func applicationDidFinishLaunching(_ notification: Notification)
(the notification parameter is a remnant of the old way AppKit used to do things. You can ignore it)
At the point when applicationDidFinishLaunching is called, the window is loaded, and we can access all loaded windows in the app using NSApplication's windows property.
NSApplication.shared.windows
So the full implementation of our Application Delegate is:
final class AppDelegate: NSObject, NSApplicationDelegate {

    func applicationDidFinishLaunching(_ notification: Notification) {
        NSApplication.shared.windows.first?.tabbingMode = .disallowed
    }
}
and we can set up our app to use it with @NSApplicationDelegateAdaptor:
@main
struct SwiftUI_Mac_Single_Window_AppApp: App {

    @NSApplicationDelegateAdaptor(AppDelegate.self) var appDelegate

    var body: some Scene {
        Window("A Single-Window App", id: "Single Window App") {
            ContentView()
        }
        .windowResizability(.contentSize)
    }
}
A better way to get rid of the tabs
January 28, 2023
...and as soon as I published this, I discovered a better approach. NSWindow has a static variable for toggling the ability to show tabs in windows: allowsAutomaticWindowTabbing. If you clear it once on the class, then any NSWindow that is created after that will not be able to have tabs, so the tabs menu items won't appear.
If your app will absolutely only have one window, then the above approach will work fine, but if you also want to have a Settings window, for example, then that window will also have the tabs menu items, unless you turn them off, and of course that window WON'T be visible at launch time.
So a more resilient applicationDidFinishLaunching would be:
func applicationDidFinishLaunching(_ notification: Notification) {
    NSWindow.allowsAutomaticWindowTabbing = false
}
TLDR
If you want to write a Single-Window mac app using SwiftUI, instead of writing:
import SwiftUI

@main
struct MyGreatNewAppApp: App {
    var body: some Scene {
        WindowGroup {
            ContentView()
        }
    }
}
write:
final class AppDelegate: NSObject, NSApplicationDelegate {

    func applicationDidFinishLaunching(_ notification: Notification) {
        NSWindow.allowsAutomaticWindowTabbing = false
    }
}


@main
struct SwiftUI_Mac_Single_Window_AppApp: App {

    @NSApplicationDelegateAdaptor(AppDelegate.self) var appDelegate

    var body: some Scene {
        Window("A Single-Window App", id: "any_string_will_do") {
            ContentView()
        }
        .windowResizability(.contentSize)
    }
}
oh, and also, it never hurts to go exploring in the documenatation. control-command-click is your best friend in XCode.